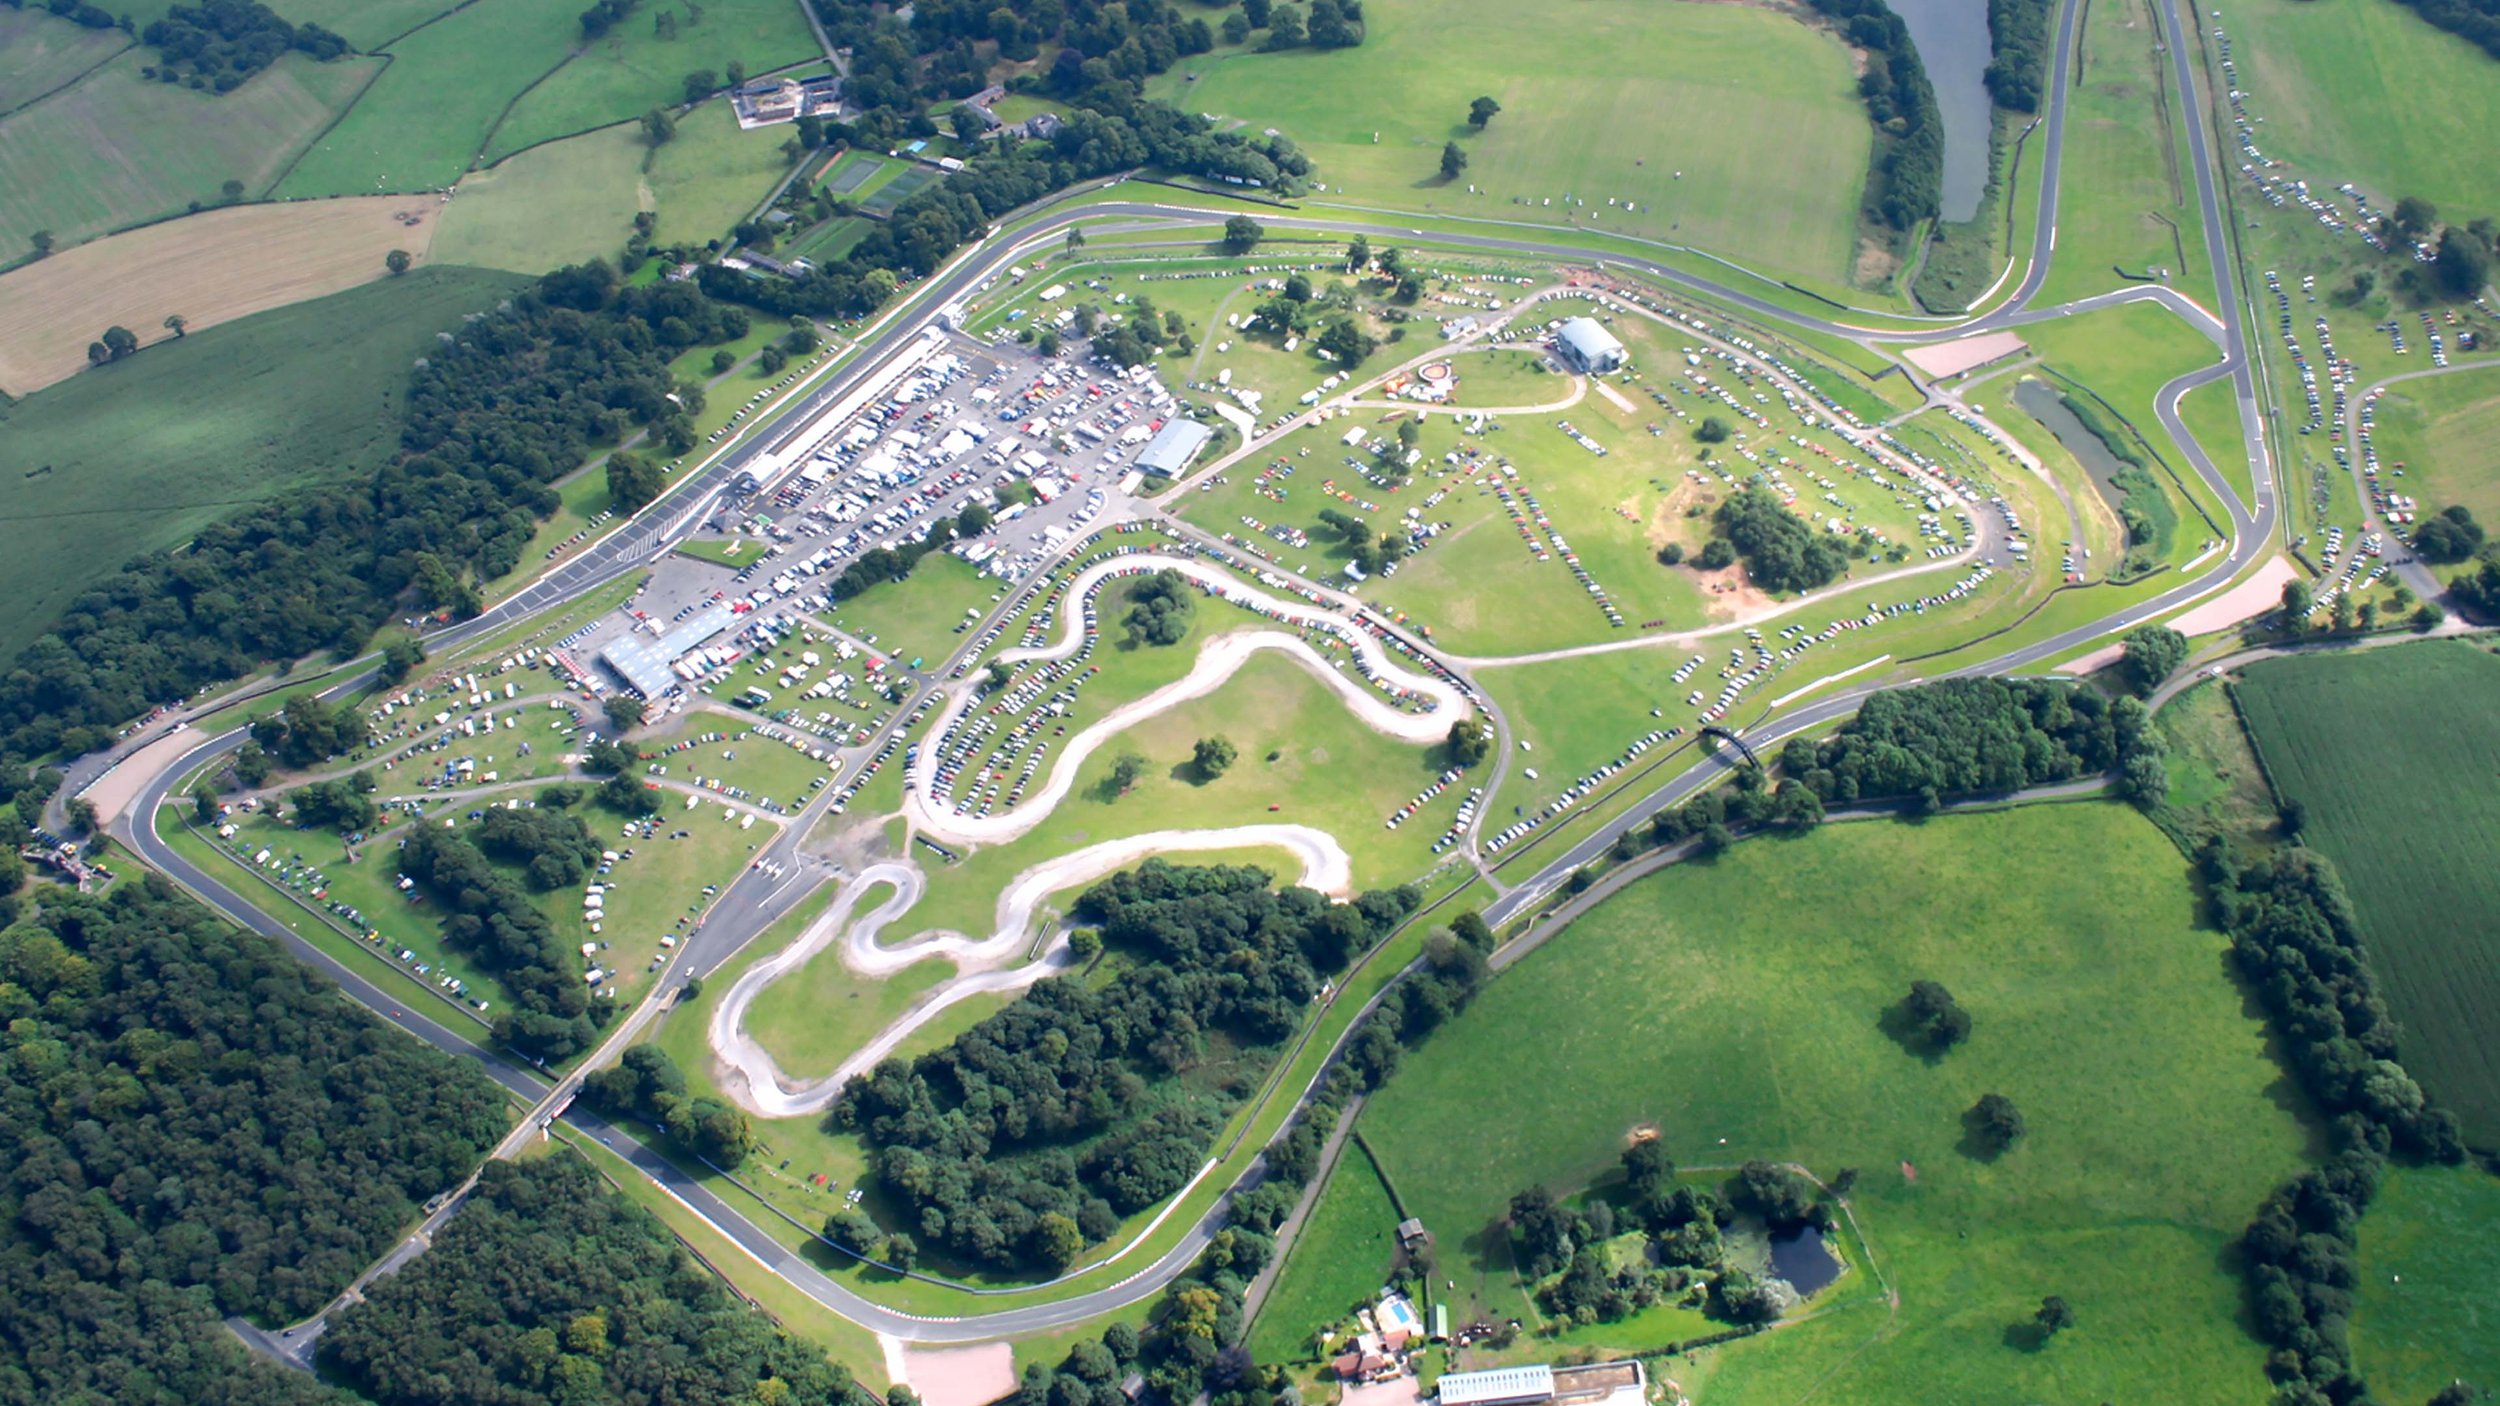
Oulton Park International circuit guide
Oulton Park has three exciting layouts. The International, Island and Fosters circuits provide huge challenges and thrilling racing for all riders and drivers.
Oulton Park International circuit is 2.8 miles (4.5km) and it is formed of ten corners. The highest part of the course is Hill Top. Paddock facilities are reasonable in size with large areas of hard-standing and some power points.
Corner one – Old Hall
On the approach to the first corner, make sure you position the car as far to the left as possible. This will help achieve the straightest possible line through the corner.
This corner has a fast entry and will require good trail braking to help get the car turned in. Look towards the end of the inside curb for the apix, which will hopefully help prevent running out wide onto the grass.
Corner two – Cascades
When entering this section there is a flat-out right turn leading into a downhill section and then into an important left-hand turn. A good exit is important here so you can carry speed onto the long straight.
You will need to start breaking for the left-hand turn just as you go over a little brow of a hill. Then smoothly turn in and aiming for a late apex.
Corner three – Island Bend
This is the fastest corner on the circuit as it comes after a long straight. Depending what car your driving, it can be a flat out turn. As you approach the corner, the turn in point is beside an access road on the right. It requires a smooth turn in and a late apex with throttle application all the way through the corner once you have turned in.
Corner four – Shell Oils
This is an interesting corner as it is banked over to the right. Trail brake as normal into the corner, and when turning in follow the centre of the track. Then half way round the corner turn tighter so that the car meets a late apex; accelerate hard through the exit. This will decrease the chance of understeer or having to ease off the power on the exit of the corner.
Corner five – Foulstons
This chicane styled corner has a fast entry which then tightens up considerably and leads onto a back straight. It requires trail braking all the way into the chicane until you turn right. Try to look as far through the sequence of corners as much as possible to help prevent running wide.
Corner six – Knickerbrook
This section of the track is actually made up of three corners. If you approach the first two corners correctly you will be able to carry momentum through the third corner, which leads into an uphill fast section.
On the approach to Knickerbrook from a high speed, the braking point is around the number 1 board. It’s crucial that you trail brake into the corner as normal, slower in – faster out. Getting the first right turn correct, means you can then carry the correct speed into the left which in turn sets you up for the final right turn
Corner seven – Clay Hill
Having exited the previous right-hand corner with as much momentum as possible, slowly ease the car over to the right-hand side of the track, ready for the gentle left curve at the top of the hill.
The base of the hill is your rough guide to start turning the car left into the corner. Bring the car over half a car width to the left curb under the bridge and follow the middle of the track. At the brow of the hill look for a large tree in the distance, on the right-hand side of the track. As you come over the brow of the hill it will feel like a straight line aiming at the tree.
Allow the car to exit the hill on the right-hand side of the track and use the access road on the right as a turning point to enter Druids corner.
Corner eight – Druids
Depending on what car you are driving, this als can be a flat out left turn. Subtly reduce the power keeping the car balanced; increase the steering angle and don’t lift off the power whilst turning, as this will unsettle the car.
Through the left turn aim to bring the car towards the left hand side of the track with a positive trail brake into the right hand corner. When turning into the double apexed right hander: bring the car close to the first apex. Then allow the momentum to push the car deeper into the corner and then back for the important second apex. It is possible to do this corner on one steering arc if you get everything right
Corner nine and ten – Lodge and Deer leap
The final right hand corner of the lap is another important corner. Good momentum from this can be carried up the hill and onto the pit straight. The braking point is around the arrow board located on the left hand side of the track. Good trail braking into the corner is needed to help bring the front of the car into meeting a late apex which is by the end of the inside curb.
Exiting this corner, use the full width of the track and keep full power on as you go over the brow of the hill close to the tree on the inside of the barrier as an apex.

